Oracle client for Linux for some reason requires 1GB of swap space, and will refuse to install, even if you have 9999999999TB of RAM, but 0 swap. Go figure.
Anyway, an OpenVZ container created with Proxmox will by default have 0 swap allocated, despite the Web UI allowing you to specify swap space.
In order to add swap to the container, from a shell prompt, run
On a somewhat related note, here’s how to install oracle client on Debian:
debian + php5 + oracle (oci8)
vzctl set 213 –swappages 262144 –save
Where 213 is your CTID, and 262144 is the amount of swappages you want. 1 page=4096 bytes , so 262144 = rougly 1024MB.
Also, Oracle installer detects 262144 swappages as 1023MB and change, so you will have to put something like 262200 instead.
It’s a bit of a pain having to run upgrades on all servers. I could of course, set up unattended upgrades, but I always liked initiating the upgrade process myself. So I wrote a little bash script that will initiate apt-get update and apt-get upgrade on all running OpenVZ containers.
Note that this only works for Debian-based distros. So Debian, *buntu, Linux Mint and the like.
It’s very rough, no error-handling or safeguards, so use at your own risk. Works for me, but YMMV.
#!/bin/bash
#Delete temp file
rm /tmp/tmp-script.sh
#Get running VZ
CTIDS=$(vzlist | awk '{print $1}' | sed -e '/CTID/d' -e ':a;N;$!ba;s/\n/ /g' )
# Echo list of running IDs
echo "$CTIDS"
CTIDarray=($CTIDS)
for x in ${CTIDarray[@]}
do
echo "#/bin/bash" > /tmp/tmp-script.sh
chmod +x /tmp/tmp-script.sh
echo vzctl exec $x "apt-get update &&; apt-get -y upgrade" >> /tmp/tmp-script.sh
screen -d -m /tmp/tmp-script.sh
done
#Delete temp file
rm /tmp/tmp-script.sh
#Show running screens
screen -x |
#!/bin/bash
#Delete temp file
rm /tmp/tmp-script.sh
#Get running VZ
CTIDS=$(vzlist | awk '{print $1}' | sed -e '/CTID/d' -e ':a;N;$!ba;s/\n/ /g' )
# Echo list of running IDs
echo "$CTIDS"
CTIDarray=($CTIDS)
for x in ${CTIDarray[@]}
do
echo "#/bin/bash" > /tmp/tmp-script.sh
chmod +x /tmp/tmp-script.sh
echo vzctl exec $x "apt-get update &&; apt-get -y upgrade" >> /tmp/tmp-script.sh
screen -d -m /tmp/tmp-script.sh
done
#Delete temp file
rm /tmp/tmp-script.sh
#Show running screens
screen -x
First, we rm the /tmp/tmp-script.sh. Starting off with very bad form, I know, feeling lazy right now. Then I use awk and sed to get the IDs of running containers from the output of the vzlist command, and place them on a single line, separated by spaces. Those IDs are than put in an array, so that the update command can be called using a for loop.
For some reason, I couldn’t get screen to launch the
vzctl exec $x "apt-get update && apt-get -y upgrade" |
vzctl exec $x "apt-get update && apt-get -y upgrade"
command directly, hence the hideous use of a temp file. If anyone can fix/improve this, I would be glad to hear from you!
This script will read the container ID from the file name, and use it to restore the tgz dump to the same ID on the new OpenVZ/Proxmox server.
Note that this only works if the default name for the vzdumps is kept, and it only works for the next 89 years, because I’m lazy.
Thanks to
http://www.cyberciti.biz/faq/bash-loop-over-file/ and http://bashcurescancer.com/10-steps-to-beautiful-shell-scripts.html
#!/bin/bash
VZDUMPS=/path/to/backups/*.tgz
for f in $VZDUMPS
do
f2=${f#*openvz-}
VEID=${f2%-20*}
echo "Restoring $f to $VEID"
vzrestore $f $VEID
done |
#!/bin/bash
VZDUMPS=/path/to/backups/*.tgz
for f in $VZDUMPS
do
f2=${f#*openvz-}
VEID=${f2%-20*}
echo "Restoring $f to $VEID"
vzrestore $f $VEID
done
I have a strange situation where I want to redirect a specific port on one host to another host. That is, traffic to 192.168.1.100:8080 => 192.168.1.101:8080.
Found the answer on LQ forums.
iptables -A PREROUTING -t nat -p tcp -d 192.168.1.100 --dport 8080 -j DNAT --to-destination 192.168.1.101
iptables -A POSTROUTING -t nat -p tcp -d 192.168.1.101 --dport 8080 -j SNAT --to-source 192.168.1.100 |
iptables -A PREROUTING -t nat -p tcp -d 192.168.1.100 --dport 8080 -j DNAT --to-destination 192.168.1.101
iptables -A POSTROUTING -t nat -p tcp -d 192.168.1.101 --dport 8080 -j SNAT --to-source 192.168.1.100
Don’t ask me why this works. It just does. Well, the first line makes sense, but I have no idea what the second is doing.
After looking at the rule in Webmin, I think I figured it out.
- When a packet arrives at this computer, if protocol is TCP and destination is 192.168.1.100/32 (local IP) and destination port is 8080 then Destination NAT (change destination IP) to 192.168.1.101
- When a packet leaves this computer, if protocol is TCP and destination is 192.168.1.101/32 and destination port is 8080 (as would be the case for any packet modified by the above rule), then Source NAT (change source IP) to 192.168.1.100. (This ensures that the remote host .101 returns any packets via this computer, .100, rather than simply attempting to send them to the original requesting host.)
Update: This even works on an OpenVZ container! Just need to enable iptables nat in the vz config on the hardware node (VM host) [source].
nano /etc/vz/vz.conf
Then do Control W and SEARCH for IPTABLES
Comment out (by adding a # symbol to the line ) the current IPTABLES= line
and then copy/paste and add this line directly underneath the line you just commented out.
IPTABLES="ipt_REJECT ipt_recent ipt_owner ipt_REDIRECT ipt_tos ipt_TOS ipt_LOG ip_conntrack ipt_limit ipt_multiport iptable_filter iptable_mangle ipt_TCPMSS ipt_tcpmss ipt_ttl ipt_length ipt_state iptable_nat ip_nat_ftp"
It is important to make sure this is all in 1 line and that it does not wrap.
Now Control-S and save – overwriting the current file.
Finally do an /etc/init.d/vz restart
to restart openVZ.
My faithful readers (all 0 of them) may notice that the site is considerably faster now. My blog is now hosted on a proper server over at iweb in Montréal instead of on my home server, leaving it free for other tasks.
As seen previously, I was attempting to set up a combination MythTV/OpenVZ server. Well, I finally got it working:
- Install Ubuntu Jaunty (9.04, 64-bit) and update until the update manager won’t update no more 😉
- Install and configure MythTV backend. This step’s difficulty may vary depending on the tuner card. My Hauppage HVR-1600 was supported by Ubuntu out-of-the-box.
- Add the Debian Lenny stable and update repos to /etc/apt/sources.list and apt-get update.
- Download Linux driver for Intel Pro 1000 PCIe card.
- Install vzctl, linux-image-2.6-openvz-amd64, linux-headers-2.6-openvz-amd64, update-grub if necessary.
- Reboot, make sure openvz kernel is running.
- Make && make install Intel e1000e driver.
- (Optional) Install Proxmox VE by adding proxmox repo.
- (Optional) Install mercurial and hg clone v4l-dvb. The main branch was broken, so I used one of the dev’s personal repos. make && make install v4l-dvb; cx18 now works again.
So… I just spent two hours trying to get MythTV running properly on my OpenVZ server (installed via the Proxmox VE bare-metal installer). This is starting to be a lot harder than I thought it would be…
As seen in my previous post, I installed the 2.6.26-2-openvz-amd64 kernel and headers, and compiled v4l-dvb from mercurial, and fixed a little bug with vzctl. Today, I installed the firmware files for my Hauppage HVR-1600 (see MythTV wiki page), added the Debian-multimedia repo and installed MythTV (apt-get install mythtv). Then I realized I needed X to use mythtv-setup, so for some reason I decided to install KDE 3.5. KDE installed fine (minus some missing files for the kdm theme… wonder why these aren’t included in the kdm package or a dependency…). I then proceeded to create a password for the mythtv user ($passwd mythtv as root) and then run mythtv-setup as the mythtv user. I managed to add the sources and scan for channels, but when I tried to “Watch TV”, I was told that the primary backend wasn’t running.
I tried some troubleshooting, but it’s getting kinda late and I’m lacking sleep (as you can probably tell from my grammar), so I decided to try installing a shiny new Intel Pro 1000 Desktop (82574L) PCIe x1 Ethernet card to get my server some gigabit love. Should be simple, right? Intel cards have good driver support, with the e100 and e1000 drivers, so much so that VM solutions like VMware and VirtualBox chose to emulate them as guest hardware. Well, this was not the case today. I popped the card in to a free PCIe x1 slot and powered on the PC. Link lights went on and all looked fine and dandy. But once the machine fully booted up (takes a while with all those OpenVZ containers 😉 ), ifconfig showed only the eth0 interface, which is my built-in Realtek/nForce controller. Some further probing with lspci and dmesg showed that the card is alive, but that the e1000 driver didn’t even bother to start up.
At this point, I GIVE UP for tonight. I’m cold from sitting down in the basement, tired from lack of sleep, and frustrated from uncooperative Linux servers.
No streaming TV for me tonight, but I suppose I should be glad that at least the blog is still up and running.
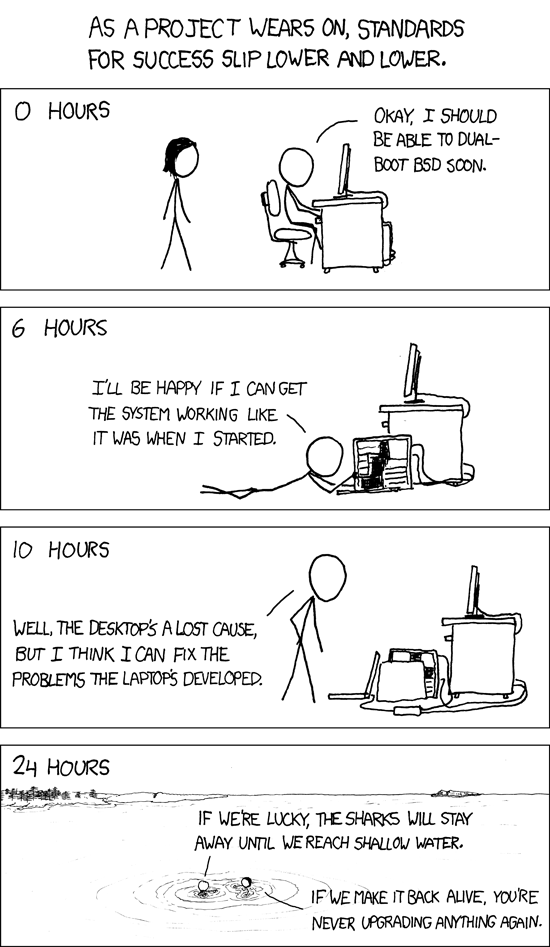
Which brings to mind http://xkcd.com/349/
I currently am running this blog from an OpenVZ server managed via Proxmox VE. One issue I had with this setup is that the Proxmox 1.3 installer by default comes with a relatively old kernel (2.6.24), and I want a newer kernel (>=2.6.26, so that I can use my cx18-based TV tuner). Fortunately, Proxmox is just a customized version of Debian Lenny, so I just installed the linux-image-2.6.26-2-openvz-amd64 package from apt, then ran update-initramfs -u and update-grub.
After updating the kernel, however, I was unable to start any of my virtual machines from the Proxmox Web UI. Looking at the system log showed a message about vzctl being 32-bit; problem solved by updating vzctl via apt.
Now I’m attempting to compile v4l-dvb…. fingers crossed!
hg clone http://linuxtv.org/hg/v4l-dvb