Microsoft’s latest OS brings a lot of improvements and changes to Windows. One particularly significant change is the way Windows Update works. By default, Windows Update will decide on its own when it wants to restart your computer – be it in the middle of rendering video, uploading or downloading a large file, or even in the middle of a competitive gaming session:
There are a few steps you can take however to make living with Windows 10 more bearable and stop it from interrupting activities on your computer.
Unfortunately, these steps only work on Windows 10 Pro, Enterprise and Education editions.
Part 1: Local Group Policy
- Run the Local Group Policy Editor tool by typing “gpedit.msc” into the Run dialog box.
- Navigate to Computer Configuration > Administrative Templates > Windows Components > Windows Update
- The policies we are interested in are Configure Automatic Updates and No auto-restart with logged on users for scheduled automatic updates installations.
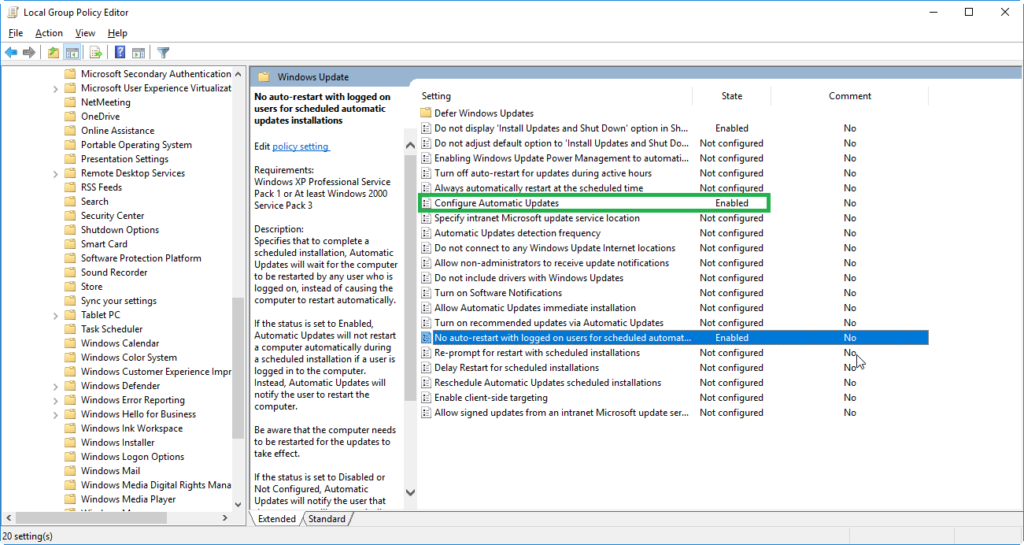
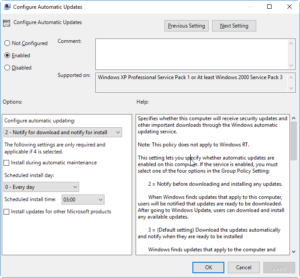
- Set both policies to Enabled, then for Configure Automatic Updates, configure the options as shown:
2 – Notify for download and notify for install
- This should take care of preventing your computer from restarting automatically when it feels like it.
Part 2: Disabling Updates are available nag screen
OK, so now you’ve got the automatic updates disabled. But you’ve been a bit lax with your updates and haven’t manually installed them in a while. So Windows 10 presents you with this:
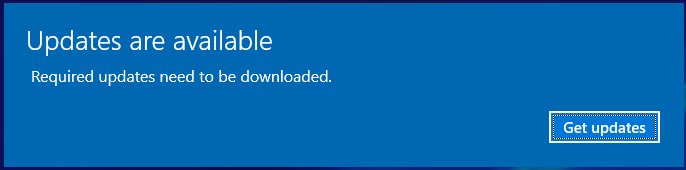
Which is good, because you really should keep your computer up-to-date for both your own and others’ security online.
However, there are some cases where this screen can be incredibly annoying – on a digital signage box, on an HTPC, or on a gaming computer for example – since it interrupts whatever you are doing with an un-closeable prompt, much like adware.
The good news is that there is a way to disable it. It’s a bit less “official”, so it may not work for you, but so far so good for me.
From an elevated Command Prompt, run the following commands.
cd /d "%Windir%\System32"
takeown /F MusNotification.exe
icacls MusNotification.exe /deny Everyone:(X)
takeown /F MusNotificationUx.exe
icacls MusNotificationUx.exe /deny Everyone:(X)
Warning: I don’t advocate running commands without knowing what they do or trusting the source, and since you might not trust me, I’ll explain what the commands do.
First we Change Directory (cd) to the Windows system32 folder. Then, we take ownership of the file MusNotification.exe and deny Everyone (including the system itself) from eXecuting it. Then we repeat the process for MusNotificationUx.exe.
And that’s it!
Leave a Reply